To solve this, the restaurant should set a Static IP (fixed IP) for the printer so that the printer can work stably.
Some printers allow to set a static IP right on the device. Find Manual IP or Fixed IP to enter a fixed IP for the printer.
However, for the printers which do not display the menu to set a static IP, follow these steps:
Step 1. Search MAC address and current IP of the printer.
- To see current IP of the printer, print a test page from the printer. Different printer has different way of printing test page. For example: for Epson printer: Turn off the printer, hold Feed button and turn on the printer.
- Each printer has a single MAC address. MAC address is displayed in the test page or printer information on the device or in the document (you can find it in: Physical address or Hardware address)

Step 2. Set up a static IP for the printer (on TPLink router)
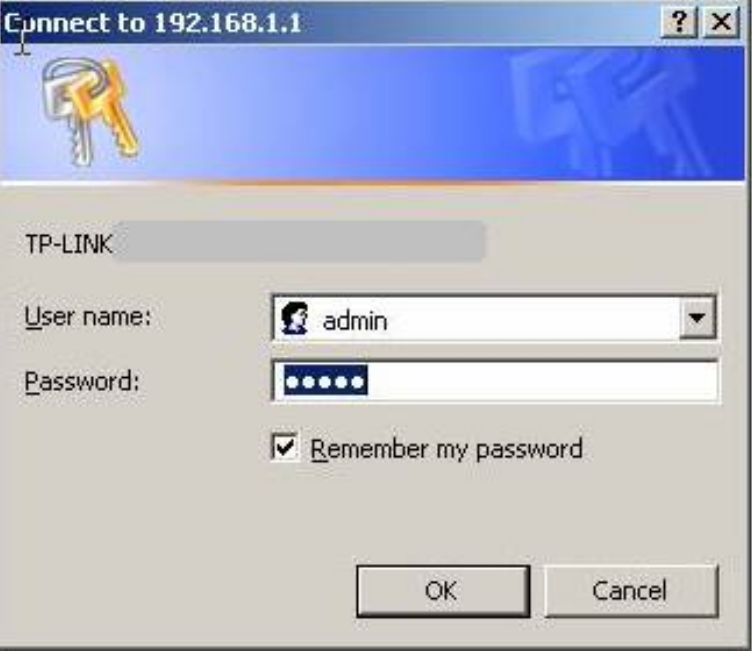
- From a PC in LAN network, open web browser and access to IP of the router and enter username, password in order to go to – Settings. Note: If the user has not changed IP address or access account, normally it is defaulted that:
-
- With TP Link Router, the user can type: http://192.168.1.1 or http://192.168.0.1 or http://tplinklogin.net.
- With Router of Linksys/Tenda/Other it can be http://192.168.1.1 or http://192.168.2.1.
- username is defaulted as admin. Password is admin or left blank.
To set up a static IP, on Router setting interface:
1. Go to DHCP\ Address Reservation to see list of devices set a static IP.
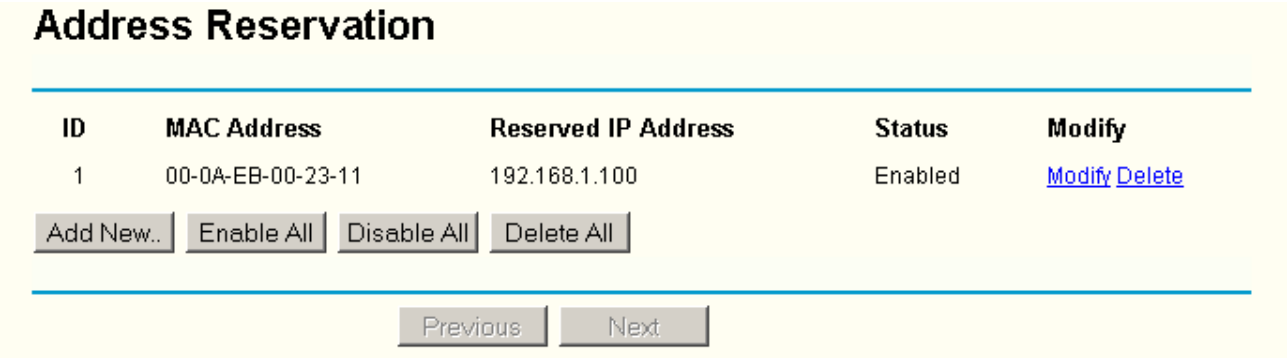
2. Click Add New to enter static IP parameters for the restaurant’s printer

3. Enter MAC address of the printer in MAC Address box (MAC address is discussed in Step 1).
4. Enter a fixed IP for the printer. (e.g.: 192.168.1.10).
5. Select Status as Enabled.
6. Click Save to save changes
At this time IP of the printer is changed (e.g. 192.168.1.10), so it is necessary to re-select printer in order for the other devices in the network to recognize the printer with new fixed IP.
Note: to establish DHCP Reservation (set up static IP for a device accessing to the network) can be different among different routers.
- On Linksys E-series router go to: Setup\ Basic Setup\ DHCP Reservation: Check Select corresponding to the printer to be set and then click Save
- On Tenda router go to: DHCP Server\ DHCP Client List
In addition, if the printer is set with a static IP and it still cannot print, see Common problems with printerhere.
